

How to Conduct Field Inspections for Storm Damage: A Comprehensive Guide
by Benjamin Goss, MBA
In the aftermath of a storm, assessing the damage inflicted upon properties is a crucial step in the recovery process. As property owners and insurance companies alike scramble to assess the extent of the destruction, conducting field inspections becomes an essential task. In this comprehensive guide, we’ll explore the steps necessary to carry out a successful field inspection for storm damage.

Step 1: Prepare for the Inspection
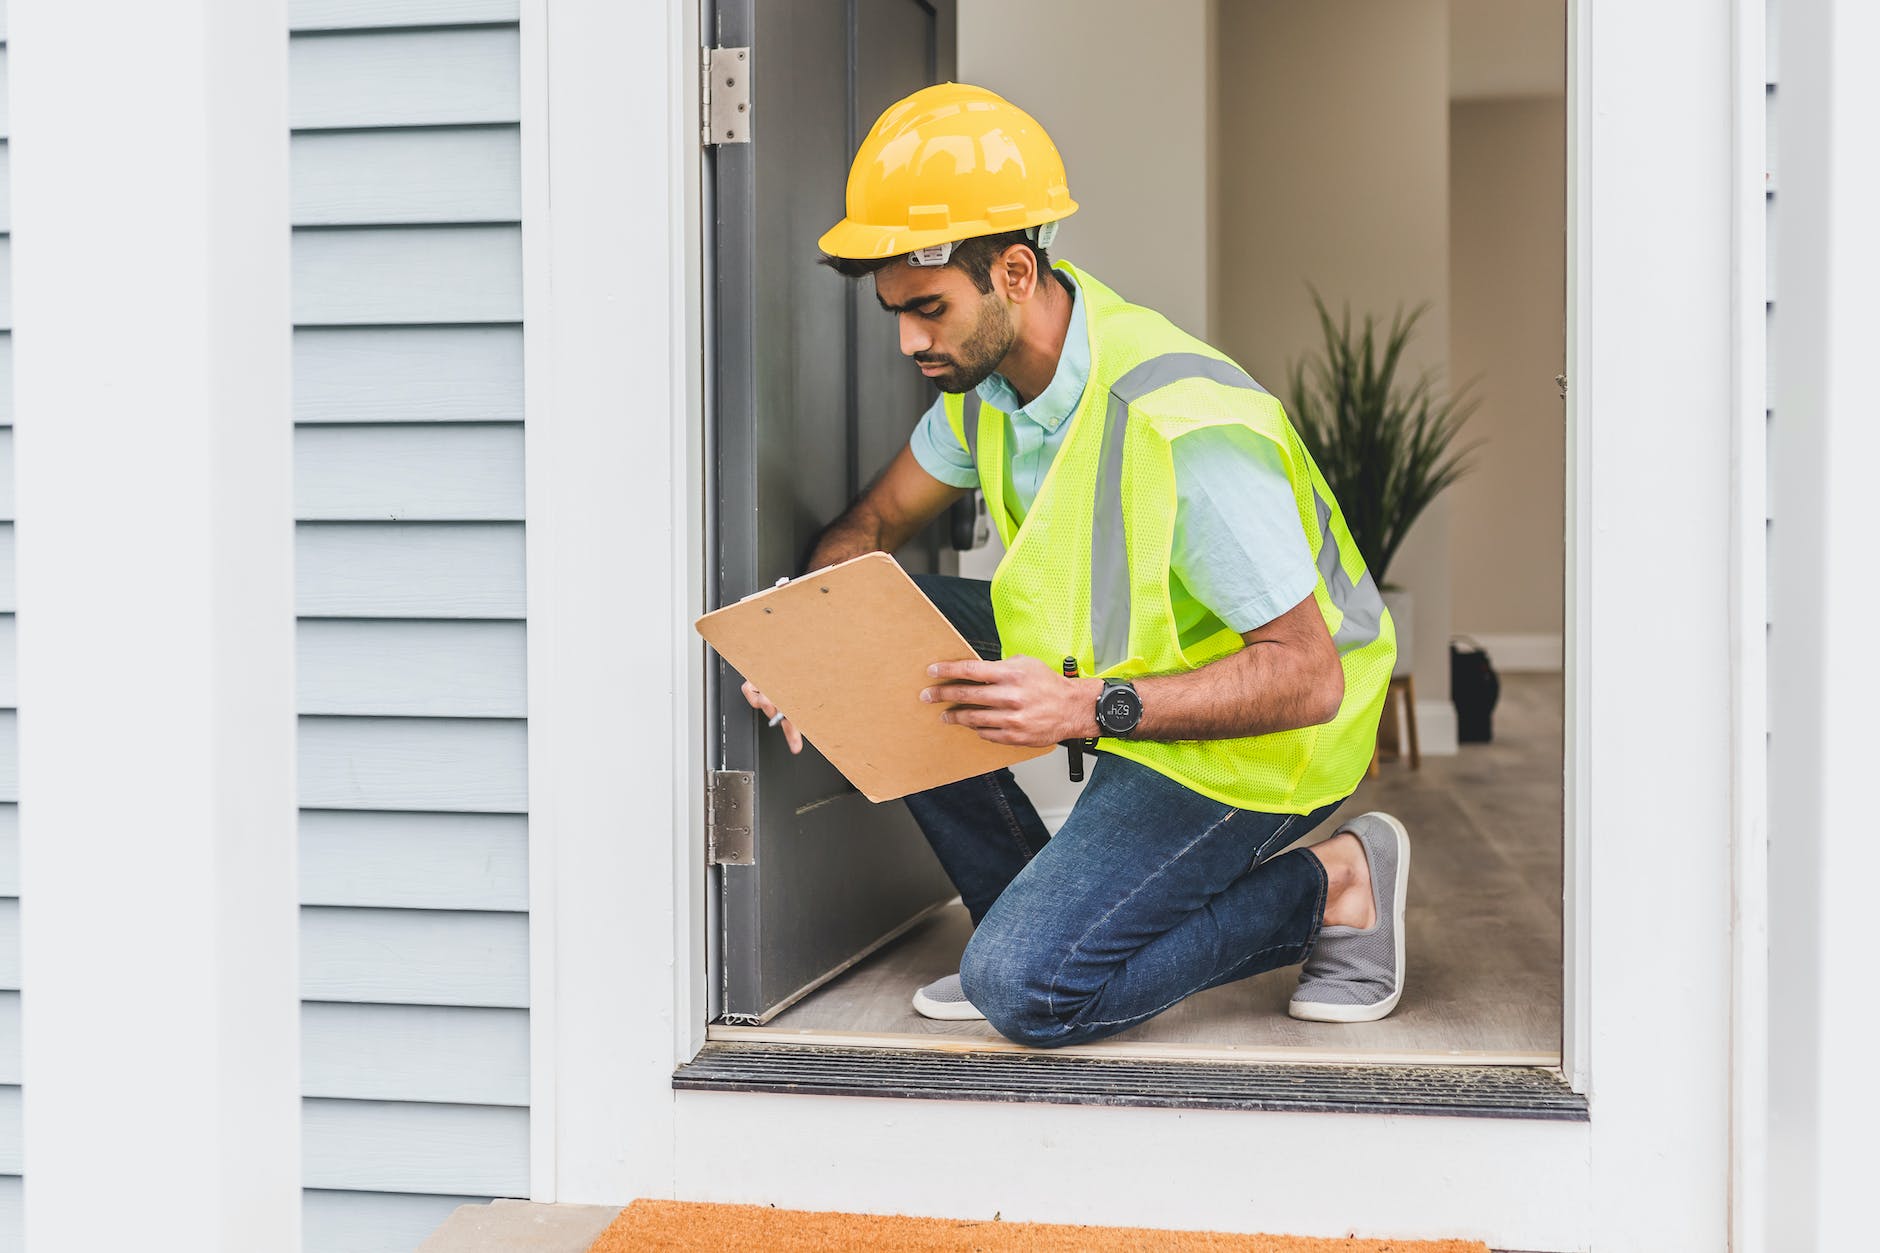
Preparation is key when embarking on a field inspection. Ensure you have the appropriate safety gear, such as a hard hat, safety glasses, gloves, and sturdy footwear. In addition, gather the necessary tools and equipment, including a camera, a ladder, a clipboard, a flashlight, and measuring tape. It’s also a good idea to familiarize yourself with the property layout, as well as any potential hazards or areas of concern.
Step 2: Establish a Systematic Approach
To conduct a thorough inspection, it’s essential to establish a systematic approach that covers all areas of the property. Start by assessing the exterior, working your way around the building in a clockwise or counterclockwise direction. This method ensures that no area is overlooked and helps maintain a sense of organization throughout the process.
Step 3: Assess the Roof
The roof is often the most vulnerable part of a building during a storm. Begin your inspection by examining the roof from the ground, looking for signs of damage such as missing, broken, or curled shingles, as well as dents in gutters and downspouts. If safe to do so, use a ladder to get a closer look at the roof and identify any areas that require further investigation.
Pay close attention to the roofing material, as different materials will present different damage indicators. For example, asphalt shingles may have lost granules or become dislodged, while metal roofing may exhibit dents or punctures. Additionally, keep an eye out for damage to flashing, ridge caps, and vents.
Step 4: Inspect the Siding, Windows, and Doors
Next, turn your attention to the siding, windows, and doors. Look for cracks, chips, or dents in the siding, as well as any signs of water infiltration. Examine windows and doors for broken glass, damaged frames, and compromised seals. It’s essential to identify and address any issues promptly, as water infiltration can lead to mold growth and further damage to the property’s interior.
Step 5: Evaluate the Property’s Surroundings
Don’t forget to inspect the property’s surroundings, including landscaping, fencing, and outbuildings. Assess the condition of trees and shrubs, checking for broken branches or uprooted plants that may pose a risk to the building. Examine fencing for signs of damage, such as broken or leaning posts, and evaluate the structural integrity of sheds, garages, and other outbuildings.
Step 6: Document the Damage
As you conduct your inspection, be sure to thoroughly document all observed damage. Take clear, high-resolution photos from multiple angles, and make detailed notes describing the location and extent of the damage. This documentation will prove invaluable when filing insurance claims and planning repairs.

Step 7: Assess the Interior
Once the exterior inspection is complete, it’s time to move indoors. Look for signs of water damage on ceilings and walls, such as stains or peeling paint. Examine flooring for warping, buckling, or other indications of water infiltration. Don’t forget to check crawl spaces, attics, and basements for signs of moisture or damage, as these areas can harbor hidden issues.
Step 8: Compile Your Findings
After completing your field inspection, compile your findings into a comprehensive report. This
report should include a summary of the damage, detailed descriptions of affected areas, and any necessary recommendations for repairs or further action. Be sure to include the photos and notes you took during the inspection, as these will provide valuable context and evidence to support your findings.
Step 9: Communicate Your Findings
Once your report is complete, it’s important to communicate your findings to the relevant parties, such as property owners, insurance adjusters, or contractors. Be prepared to answer questions and provide clarification, as needed. Remember that clear and open communication is essential in ensuring that everyone is on the same page and that necessary repairs are completed in a timely manner.
Step 10: Follow Up and Monitor Progress
After the initial inspection and reporting, it’s crucial to follow up and monitor the progress of any repair work or further investigations. Stay in touch with property owners, contractors, and insurance adjusters to ensure that all parties are aware of any updates or changes in the situation. By maintaining an active role in the recovery process, you can help to ensure that the property is restored as efficiently and effectively as possible.
In conclusion, conducting field inspections for storm damage is a critical task that requires thorough preparation, a systematic approach, and attention to detail. By following the steps outlined in this comprehensive guide, you can confidently assess the extent of storm damage and provide valuable insights to property owners and insurance companies alike. Remember that while dealing with the aftermath of a storm can be challenging, it’s an opportunity to demonstrate your expertise and help affected communities recover and rebuild.
Embrace the challenge, and take pride in knowing that your efforts are contributing to the long-term resilience and well-being of the properties and communities you serve. With a little preparation, organization, and the right mindset, you can become an invaluable asset in the storm damage assessment and recovery process.